ATD Blog
Audio Equipment for Learning Professionals
Wed Jan 19 2022
Many of us joined the world of talent development after exploring other career paths. Before becoming a learning professional, I worked in music and film production. I’ve recorded e-learning voiceovers for many companies during the past several years—it’s an incredible creative outlet. If you’re an instructional designer or e-learning developer, building your audio production and post-production skills can save you lots of time and money on projects.
At ATD TechKnowledge 2022, I’ll provide an overview of how to record and edit audio for L&D projects. Below are my tips related to microphones and audio equipment, which will be reviewed in the first half of the session. Then, there’ll be a discussion and demonstration around the best practices for both recording and editing audio.
In addition, if you’d like to see the portable voiceover recording setup that I use when I travel, check out this video.
Purchasing a Microphone
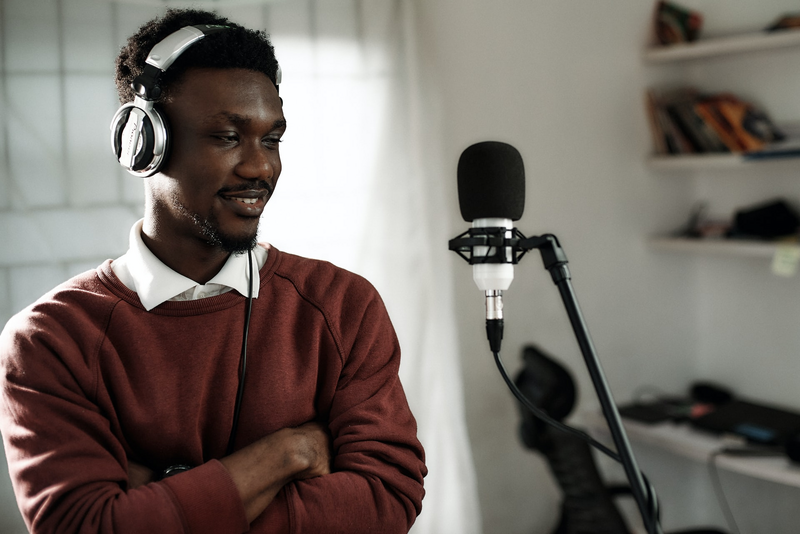
1. You don’t need the best microphone on the market to record voiceover. You can buy a mic for USD $200 or less and still produce great audio.
2. Do some online comparison shopping and read reviews that discuss how different microphones perform when recording a single human voice.
3. Cardioid microphones are best for voiceover because they focus on sound coming from a single source or direction.
4. USB microphones are simple to use, don’t require lots of accessories, and will produce quality audio.
5. Personally, I use a Blue Yeti Pro USB microphone for voiceover and a Jabra Evolve USB headset when presenting virtual instructor-led sessions.
Purchasing Other Audio Equipment
1. Purchase a pop filter, which is a screen that goes between your mouth and the microphone. The filter catches “mouth sounds” and makes consonant sounds a bit less sharp, improving the overall quality of your recordings.
2. You may want to purchase a microphone stand, standing desk, and other equipment that makes it comfortable for you to record in a standing position. Voiceover artists stand when they record because it improves vocal quality.
3. When recording voiceover, artists often read their scripts from an iPad or paper printout. You may want a music stand to hold these items. It isn’t ideal to read scripts from a laptop when recording because laptop fans produce noise.
4. Buy an extra-long USB cord for your microphone, so you can keep your computer and its noises as far away from the microphone as possible. When I’m recording, my laptop is in a different room.
5. Buy headphones to use when recording and editing voiceover. Don’t edit voiceover without using headphones—you won’t catch details like unnecessary breaths or small background noises. When purchasing headphones, do some online comparison shopping and look for reviews that discuss how the headphones reflect the human voice or string instruments. Headphones designed for gaming or listening to bass-heavy music are not ideal for voiceover work.
Purchases That Improve Your Recording Environment
1. If you intend to record sitting down and you have a squeaky chair, get a different one—preferably one without wheels. Editing squeaks out of voiceover is no fun!
2. Pad any hard surfaces that are near your recording area. If you’re recording at a desk, pad the tabletop as much as possible. Blankets and pillows work just fine, but if you’d like some stylish pads for your walls, there are lots of easy-to-install options online. Search for “soundproofing foam” or “acoustic panels.”
3. I often use a microphone isolation shield, which provides easy soundproofing, is portable, and stores easily in a closet when it isn’t needed.
"No Purchase Required” Bonus Tips
1. Turn off your appliances and air conditioning before you record.
2. Close all windows and doors to reduce ambient sound.
3. If you have noisy neighbors, bring them cookies and ask them to be quiet.
Please share your tips and questions in the comments below. Hope to see you during the session on February 9th!