ATD Blog
Toolbox Tip: 3 Tips for Using PowerPoint Like a Pro
Wed May 06 2015

PowerPoint is one of my favorite tools to use for presentations and graphic design. Whether you’re creating a presentation for your next speaking event or designing an e-learning course with Articulate Studio, PowerPoint can meet the majority of your needs.
Although PowerPoint is relatively simple to use, many of its most powerful features are hidden in plain sight and get left unused. In this post, I’ll show you three simple features that will have you using PowerPoint like a pro.
#1: Selection Pane
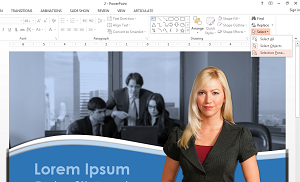
The Selection Pane is one of my favorite features in PowerPoint, and perhaps its most hidden feature. If you happen to use a lot of animations, you probably have a lot of overlapping objects on your slides. This can make it difficult to work with the one you want or determine which animation applies to which object.
**
What is it?
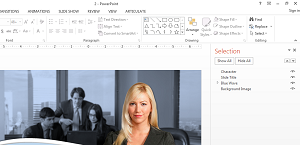
The Selection Pane lists all the shapes, objects, and placeholders on the slide.
What can you do with it?
The Selection Pane offers several benefits. With the Selection Pane, you can:
Change the front-to-back order of items. Select an object, and then click the up and down buttons (top equals front, bottom equals back), or drag and drop the items.
Click the visibility icons (eyeball icons) next to an item to hide or un-hide it. This lets you work with objects without the distraction of other objects. (Just remember to click the icon again to make the object visible again—otherwise that object won’t show up in your finished presentation.
Give meaningful names to the objects. It is easier to select the right object or locate the right animation in the Animations pane if an object is named “Slide Header” rather than “Text Box 1.”
#2: Align & Distribute
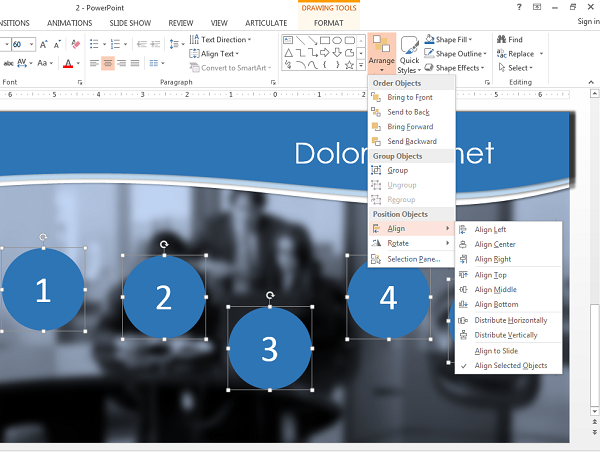
Managing images or shapes on the screen can be frustrating, especially when you need those objects to be evenly aligned or distributed on the screen. It might seem like the easiest thing to do is “eyeball it,” but even then, the result is rarely perfect.
**
What are they?
The Align and Distribute tools let you evenly arrange multiple objects on the screen.
What can you do with them?
With the Align and Distribute tools, you can easily arrange objects so they are perfectly aligned and/or distributed with each other. Additionally, if you select only one object, you can use these tools to align the object with the slide.
#3: Screenshot
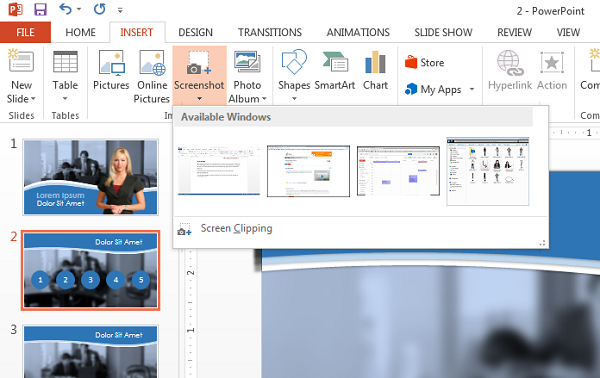
While building a presentation or an e-learning course, you’ve likely needed to include a screenshot of some other program or document. If this this is the case, your first instinct might be to use a program like Snagit or something similar. But did you know PowerPoint has a built-in screen capturing tool?
**
What is it?
The Screenshot tool in PowerPoint does exactly what you think–it takes screenshots!
What can you do with it?
There are some advantages to using the Screenshot tool in PowerPoint, rather than opting for an external program. First, you can quickly insert a screenshot of any window you currently have open without leaving PowerPoint. Second, if you only need a screenshot of a specific area, you can use the Screen Clipping option on the drop-down menu to take a traditional, Snagit-like screenshot—again, without ever having to leave PowerPoint.
So, there you have it: three simple features that will have you using PowerPoint like a pro—and that’s just the tip of the iceberg!
Do you have a “pro tip” for using PowerPoint? Share it in the Comments below.