ATD Blog
15 Hacks for Filming Better Explainer Videos With Your Cell Phone
Wed Apr 20 2022

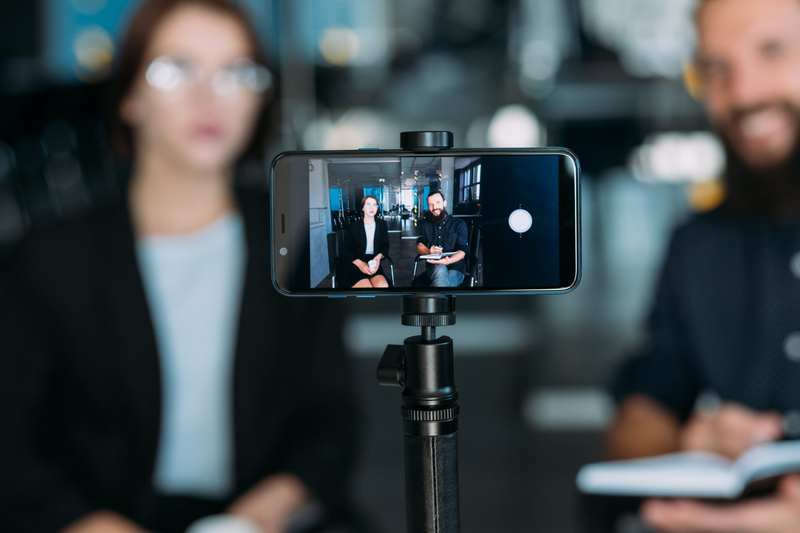
When sharing content with employees, most organizations use video filmed on cell phones. Carrying a cell phone in your pocket or purse is like carrying a mini TV station with you. It has everything you need to film and edit on the run without cumbersome gear like lights and booms. Here are 15 hacks you can use to ensure your explainer videos filmed on a cell phone look like they were shot by a professional.
Plan Each Shot Before You Start
1. Don’t start filming until you have completed a storyboard or shot plan. Yes, it feels like an added chore, especially if you don’t like drawing, but having a storyboard or shot plan can save you time later.
2. Rehearse what you film. If your video is a task demonstration, rehearse that demonstration several times to ensure it flows and looks polished. The practice will prevent on-camera mistakes while you’re filming, which will mean less time editing.
3. Film more than one take. This will give you more footage to choose from in post-production (editing). Consider moving the camera to different positions for each take.
4. Perform a safety check. Make sure the location you will be filming in is safe, whether outside in a car park or inside on a factory floor. Do a risk assessment and, when possible, film with a partner.
5. Get permission before filming. Major cities and many office buildings require you to have a permit to film in public places. Check with security so you don’t get shut down halfway through filming.
Use the Camera Well
6. Avoid using zoom on your camera. Digital zoom pixelates shots on most cameras, which makes them blurry, so film with your lens zoomed out. Need a close-up? Just move in with the camera.
7. Ensure there is plenty of light where you film. Cell phone cameras work best in full light. If needed, grab some shop lights to shine on the object or person you’re filming.
8. Ensure the main light source shines directly on the object or person you are filming. Avoid filming anyone standing in front of a window or doorway; you’ll only capture their silhouette.
9. Invest in an external microphone. Mics should be a few feet from the sound source or speaker’s mouth; anything further results in lousy audio with more ambient background noise.
10. If you must use the camera’s inbuilt mic, move as close to the sound source as possible. You can have the best shots in a video, but if the audio is lousy, it will come across as unprofessional.
11. Focus your shot. Touch the area on screen you want in focus to ensure your camera knows who should be focused on. Auto focus doesn’t always get it right.
12. “Roll for five.” Wait five seconds after pressing record before you start any action. Stop recording five seconds after the action has stopped. This will make editing easier.
Managing Your shots
13. Take notes while filming. Note specifics you need to remember about individual shots when you start editing, such as names or things in the shot.
14. Download video shots to your computer after filming. This is a good habit to get into because your files will be safely stored and your phone’s storage won’t be glugged up with lots of video files.
15. Rename all your video files. When downloading onto your computer, change the file names from digits to words that make sense to you. This will make them easier to find later.
The tips for using your camera assume you are filming explainer videos with a regular cell phone camera. Some folks who like a little more control over their shots may download camera apps. These apps allow you to manipulate shots with functions that come on professional cameras like white balance, shutter speed, and audio.
Do It Right First and Save Time Later
Capturing good video doesn’t just help make your shots look good. Doing it right the first time prevents you from wasting time in post-production adjusting lighting and contrast or finding ways to creatively distract viewers from blurry shots. This slows down the production, gives you less precision, and robs you of time to be creative.
If you’d like to learn more about how to make instructional videos with your cell phone, sign up for ATD’s online certificate program, Rapid Video Development for Learning Certificate, which will be held on May 5 and 6 and facilitated by Jonathan Halls.
